 Free Palm Reading
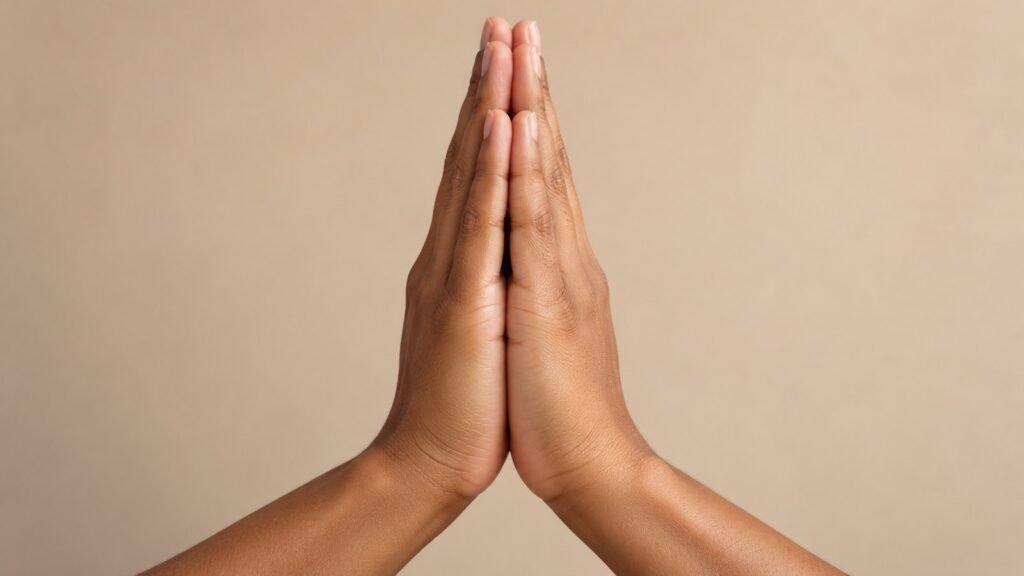
For a clear palm photograph, use even light, a relaxed hand, a plain background, and a camera positioned above the palm. Check the saved image before uploading. Better visibility helps you see the photograph’s details; it does not make palmistry a reliable prediction of personality, health, or future events.
A simple capture sequence
- Check the service’s instructions. Confirm which hand and how much of it the service requests. There is no universal rule that every left-handed person must photograph the left hand.
- Prepare the scene. Use a plain surface and remove documents, screens, identifying objects, and other people from the background.
- Use even light. Try soft window light or a diffuse indoor light. Move away from direct glare and deep shadows.
- Relax the hand. Keep the palm open comfortably with fingers slightly apart. Do not strain or press against a surface to exaggerate creases.
- Frame from above. Include the requested area without cropping fingertips or the palm edges. Keep the camera roughly parallel to the palm.
- Focus and steady. Tap the palm to focus if your camera supports it. Rest the camera or your arm securely, and take a few pictures.
- Inspect the saved file. Enlarge it enough to check focus, lighting, and cropping. Choose the clearest natural image, not the most dramatic edit.
Troubleshoot the photograph
| Problem | Try this | Check the result |
|---|---|---|
| The background is sharp but the palm is blurry | Refocus on the palm and move back slightly if the camera is too close. | Visible details remain clear when enlarged. |
| A bright patch hides part of the hand | Change the light or hand position slightly; avoid direct flash. | No important area is washed out. |
| The fingertips look much larger than the wrist | Reduce camera tilt and photograph from above. | The outline looks natural. |
| A dark camera shadow crosses the palm | Move the light or camera so the device is not blocking illumination. | The palm is lit evenly. |
| The upload fails | Read the stated file type and size limits and use a supported copy. | The selected file is the one you intended to upload. |
Run a controlled two-photo test
Take one photo with your current setup. Change only one thing, such as moving out of direct sunlight, and take a second photo. Compare the same area of the palm. Keep the version with clearer visible detail. Changing light, angle, focus, and editing at once makes it harder to know what solved the problem.
Keep edits modest
Avoid beauty filters, drawn lines, AI enhancement that invents detail, or strong sharpening. Do not trace a crease into the image before submitting it as an unaltered photo. Keep the original if you crop a copy to remove an unnecessary background. A generated interpretation may still misidentify a feature even in a clear image.
Check privacy before sharing
- Use your own image or obtain the person’s permission.
- Read the service’s current privacy and image-handling information.
- Check whether your device includes location data and whether the service explains how it handles it; do not assume every upload removes metadata.
- Do not post someone else’s hand photo publicly for feedback without permission.
- Choose a paper-based activity if you prefer not to upload an image.
Read this site’s privacy policy and editorial standards. This guide does not promise automatic deletion or a particular retention period. Use the policy and service controls for those details.
What a clear photo cannot tell you
Image quality does not establish whether someone is faithful, how long they will live, whether they will become wealthy, or whether they have a medical condition. Treat palmistry output as entertainment, and seek appropriate qualified advice for important concerns. For an activity without an upload, try the reflection guide.